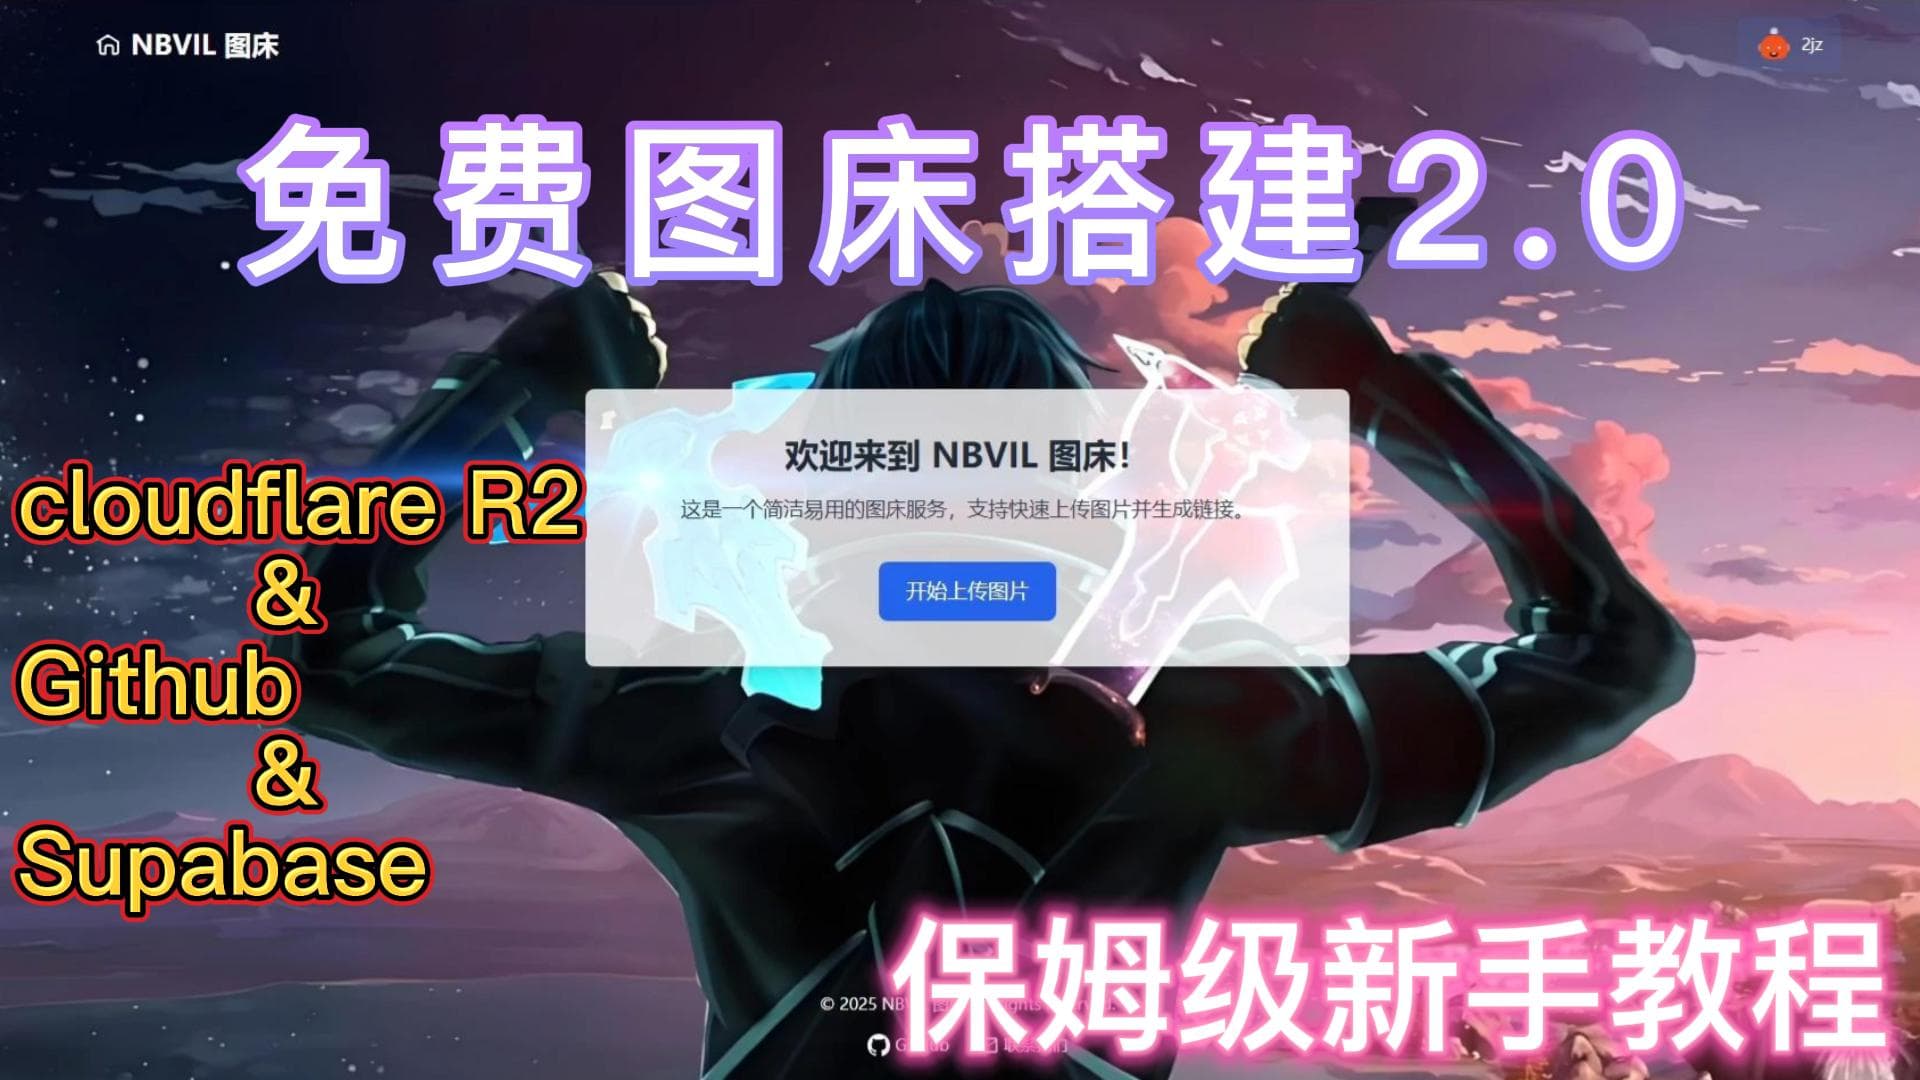
ImageHost-R2 V2.0
GitHub项目地址:ImageHost-R2
版本更新:
-
✅ UI美化
-
✅ 用户注册与个人信息管理
-
✅ 配置信息加密
🎬 视频教程
- BiliBili:图床搭建2.0 | 美化UI | Supabase管理 | 新手教程
📟 一、创建 Supabase 账户与项目
-
注册并登录 Supabase
邮箱激活链接可能会被误放入垃圾箱,记得查看。
-
创建一个组织(Organization):配置默认,昵称可自定义。
-
创建项目:
- 自定义项目名称、数据库密码
- 地区选择默认或就近区域
- 点击创建
🛠 二、创建用户资料表(profiles)
-
打开
Table Editor→Create a new table -
自定义表名为
profiles,字段结构如下:
| 字段名 | 类型 | 说明 | 配置 |
|---|---|---|---|
id | uuid | 用户唯一 ID(来自 auth.users) | PRIMARY KEY, REFERENCES auth.users(id), NOT NULL |
username | text | 用户名,可自定义 | UNIQUE, 可为 NULL |
avatar_url | text | 头像地址(图片链接或存储路径) | 可为 NULL |
created_at | timestamp with time zone | 创建时间 | DEFAULT now(), NOT NULL |
- 推荐使用 SQL 创建:
命令创建,需手动开启RLS
create table public.profiles (
  id uuid primary key references auth.users on delete cascade,
  username text unique,
  avatar_url text,
  created_at timestamp with time zone default now()
);
🔒 三、添加访问策略(Row-Level Security Policies)
确保用户能访问自己的资料:
create policy "Users can view their profile" on public.profiles
  for select using (auth.uid() = id);

create policy "Users can update their profile" on public.profiles
  for update using (auth.uid() = id);

create policy "Users can insert their profile" on public.profiles
  for insert with check (auth.uid() = id);
⚙️ 四、设置注册触发器:自动同步 profiles
当用户注册时,自动向 profiles 表插入一条记录:
-- 创建触发器函数
create function public.handle_new_user()
returns trigger as $$
begin
  insert into public.profiles (id)
  values (new.id);
  return new;
end;
$$ language plpgsql security definer;

-- 绑定触发器
create trigger on_auth_user_created
after insert on auth.users
for each row execute procedure public.handle_new_user();
🗂 五、配置存储 Bucket(头像上传)
-
打开左侧菜单 → Storage → Buckets →
New Bucket -
Bucket 配置:
- 名称:
avatars - 勾选 Public(公开访问)
- 名称:
-
添加上传策略(仅允许已认证用户):
CREATE POLICY "Allow authenticated upload"
ON storage.objects
FOR INSERT
WITH CHECK (
  auth.role() = 'authenticated'
);
🔑 六、获取 API 相关信息
在 项目设置 - API 中获取以下信息:
-
Supabase 项目 URL:
https://joxywvepickmjpgmjabd.supabase.co -
匿名访问密钥(anon key):
eyJhbGciOiJIUzI1NiIsInR5cCI6IkpXVCJ9...
🧰 七、GitHub 项目配置更新
-
GitHub 仓库,如果老版本是 fork 的可直接更新
或者:下载最新前端打包文件,手动原有文件
-
手动更新
config.js文件中的配置地址:
async function fetchConfig() {
  const res = await fetch("https://api.worker.com/config"); // Worker 配置路径
  if (!res.ok) throw new Error("获取配置失败");
  return await res.json();
}
💻 八、更新 Cloudflare Worker 配置
-
把最新的worker.js代码更新到worker项目中
-
添加允许访问的来源(可多个地址):
const allowedOrigins = [
  'https://myimgbed.pages.dev',  // Cloudflare Pages 正式地址
  'https://username.github.io',  // GitHub Pages 地址
  'http://localhost:8787'        // 本地调试地址
];
-
新增环境变量(Worker Variables):
变量名 说明 API_BASE_URLworker 访问地址 SUPABASE_URLSupabase 项目 URL SUPABASE_ANON_KEYSupabase 访问密钥(anon key) MAX_FILES最大上传文件数 LIST_PATH图标列表访问路径
🌐 九、Cloudflare Pages 部署更新
-
如果是新部署:
- 构建输出目录设置为 public。
-
如果是在旧版的基础上更新版本
- 设置 → 构建设置 (Build Settings)
- 构建输出目录:改为
public - 然后进入“Deployments” 页面,点击:
- Retry deployment (重试部署) 查看更新是否成功
版权声明:
本文由 二进制 原创,采用 CC BY-NC-SA 4.0 协议进行许可。转载请注明出处。